Getting Started with Screener Pages
The following steps show how to setup and test your first Project using Screener Pages:
1. Setup your first Project
When you first login to Screener, you will be asked to create a new project to add your tests to. Click for the Add New Project dialog:
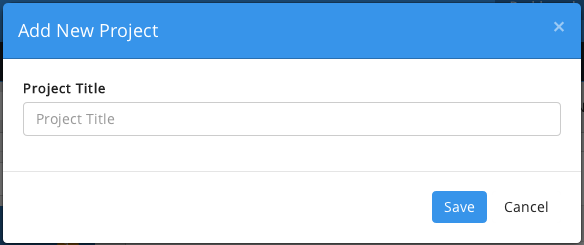
Add a Project Title and click Save.
The Dashboard will update with the new Project.
2. Add a Test Group
A Test Group allows you to group and organize your tests and reports. You can create as many Test Groups as you'd like to organize your tests.
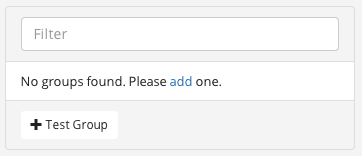
Create a new Test Group by clicking + Test Group button in the Dashboard:
You will be presented with the Add New Test Group dialog:
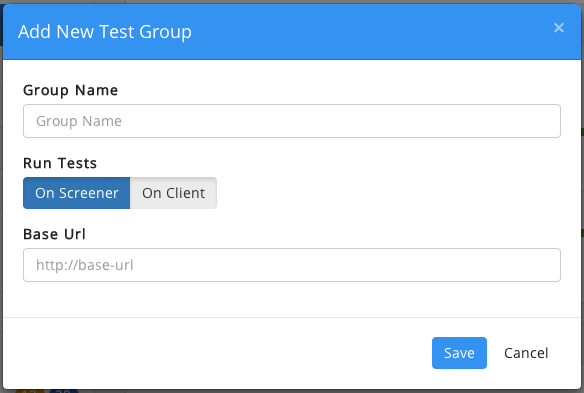
The Run Tests On Screener option is pre-selected, as it is the simplest and quickest way to get started with Screener. (The Run Tests On Client option allows you to integrate and run Screener from your existing Selenium/Webdriver functional tests.)
Add a Group Name and a Base Url to what you would like to test, and click Save.
The Dashboard will then update with the new Test Group. An initial page with the path "/" is automatically added for you.
Click Save to add the Test Group.
3. Add a Browser
The Add Browser dialog will automatically display after adding a Test Group:
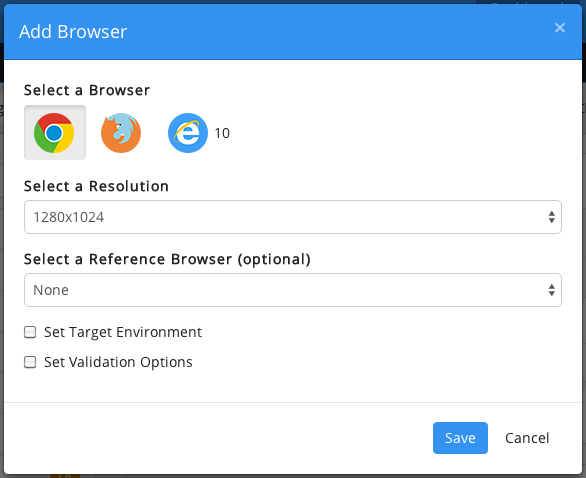
Select your desired browser and resolution.
Click Save to add the browser to your Test Group.
- Cross-Browser Testing (e.g. Firefox to reference Chrome)
- Multi-Environment Testing (e.g. Staging to reference Production)
- Localization Testing (e.g. FR to reference EN).
- Structure - this includes inserted or deleted elements
- Layout
- Style
- Content - this includes text and media content, such as images
4. Add Pages
The Add Page dialog allows you to add any number of pages you'd like to test in a Test Group.
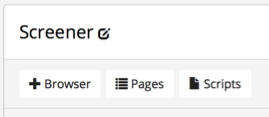
Access the Add Page dialog by clicking on Pages.
In the Add Page input field, enter a path to a Page. Paths should start with a "/" (i.e. /path/to/page). Urls outside of the Base Url can also be added, and must start with "http://" or "https://".
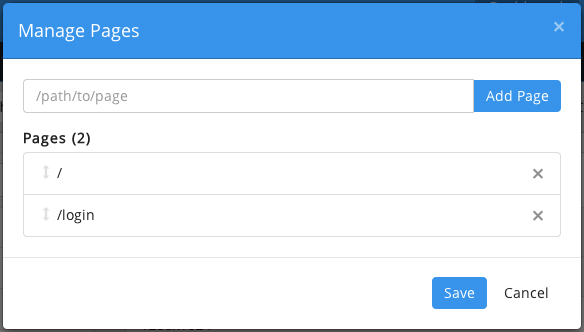
When finished adding pages, click the Save button to add Pages, or Cancel to undo your changes.
5. Run Test
After you have added all the browsers and pages you'd like to test, you can start your first test run. Click on Run Test to start a test run for a Test Group.

After clicking Run Test, you will see the History tab with the browsers queued for their first test run. As the test runs, you will notice each browser cycle through different status messages, starting with the Queued state.
A test is complete when you see the "Complete" status.
